Plating Process
Adhesion Testing Plated Coatings
Adhesion failure is the most expensive coating defect to discover after delivery — it triggers customer returns, line recalls and quality disputes that cost far more than the plating itself. The adhes
Adhesion failure is the most expensive coating defect to discover after delivery — it triggers customer returns, line recalls and quality disputes that cost far more than the plating itself. The adhesion test is not a formality: it is the evidence that your line's pre-treatment, activation and plating parameters are working together. This guide covers the test methods, the equipment to run them, and what a failed test actually tells you about the line.
Technical planning document — confirm test methods against your customer specification and industry standard.
The test methods buyers actually use
Method | How it works | What it detects | Equipment needed |
|---|---|---|---|
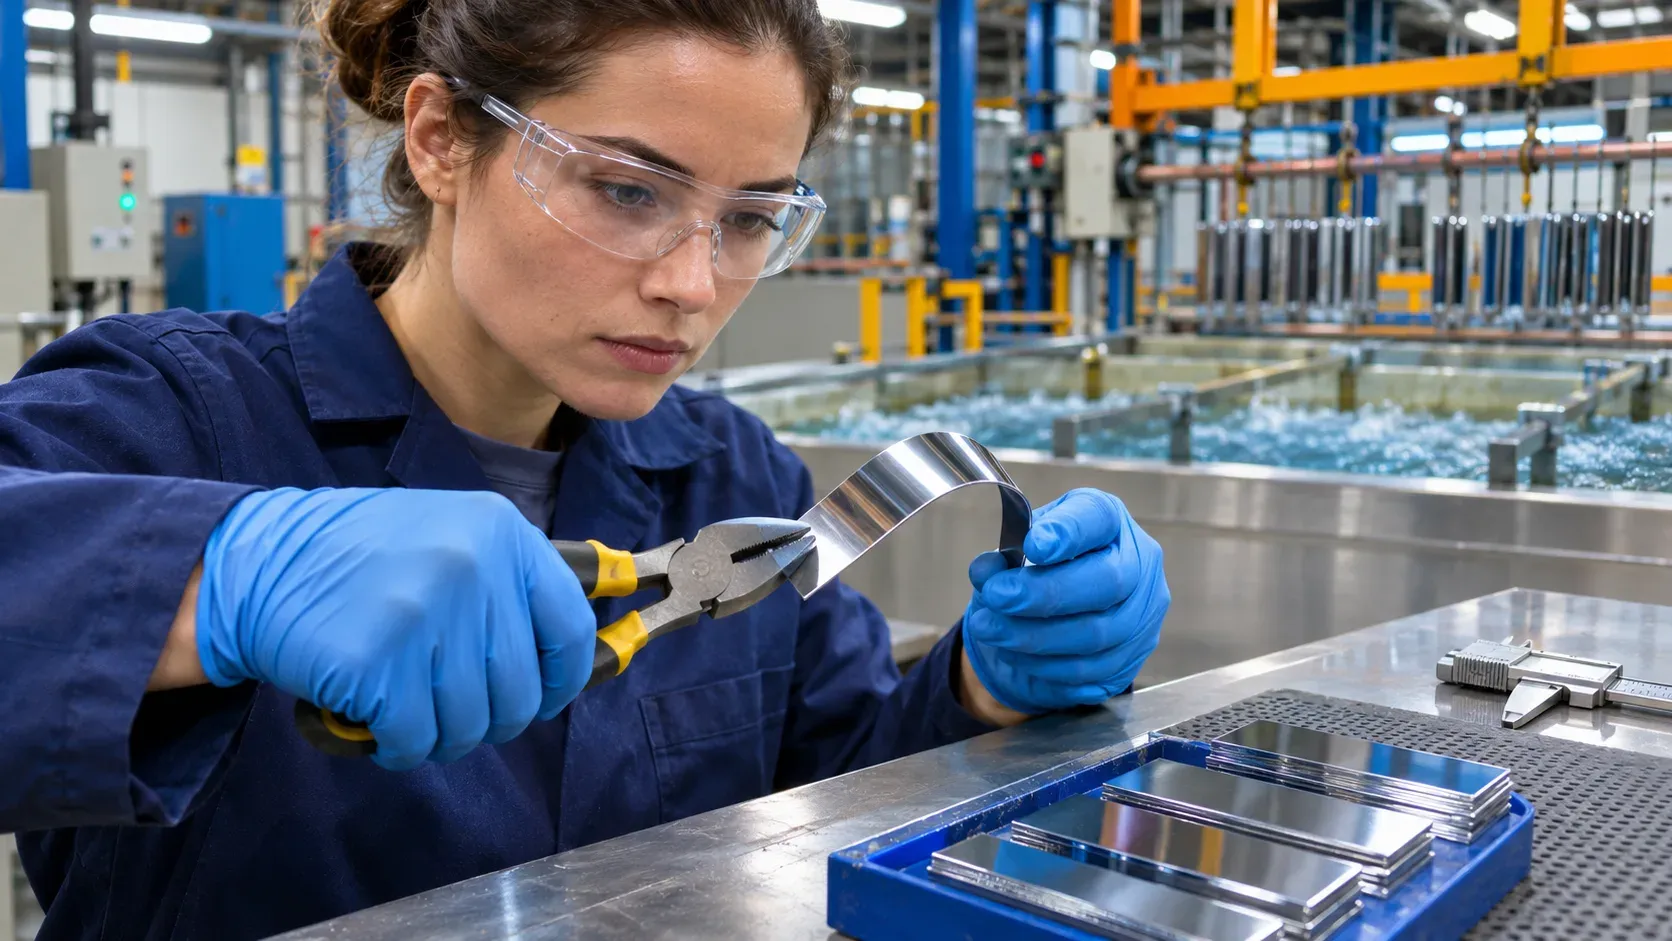
Bend test | Bend the plated part 90–180° over a mandrel; inspect the bend for blistering or flaking | Severe adhesion failure at the interface | Mandrel set of known diameters, magnifier |
Thermal shock | Heat to 150–250°C then quench in cold water; check for blistering | Adhesion failure driven by thermal expansion mismatch | Temperature-controlled oven, quench tank |
File test | File through the coating at 45° to the base metal; check for lifting | Localised adhesion at the filed edge | Fine file, magnifier |
Push-out / pull test | Measure the force needed to push a coating off a defined area | Quantitative bond strength (MPa) | Universal test machine with push-out fixture |
Tape test (cross-hatch) | Cut a grid through the coating, apply tape, remove; count detached squares | Adhesion of thin decorative coatings | Cross-hatch cutter, adhesive tape (ASTM D3359) |
What a failed adhesion test actually tells you
Adhesion failure is never random. It traces back to a specific process stage — and the test method tells you which stage:
Failure pattern | Likely cause | Line fix |
|---|---|---|
Failure at the base metal / deposit interface | Pre-treatment failure: residual oxide, oil or scale at the surface | Upgrade ultrasonic or electrocleaning; check activation acid concentration |
Failure between deposit layers | Interruption between plating steps; passive layer formed during transfer | Reduce transfer time; add acid activation between layers |
Blistering after thermal shock | Hydrogen embrittlement from cathodic cleaning or plating; gas entrapment | Add or verify the baking stage; check current efficiency |
Edge lifting on sharp corners | Excessive current density at high-current-density areas | Reduce current density; add auxiliary cathodes or shields; improve racking |
The controls and traceability guide explains how to capture the process data that links a failed test to its root cause.
Equipment for in-house adhesion testing
Item | Specification |
|---|---|
Mandrel set | Diameters matched to your part range and spec (commonly 6–50 mm) |
Oven | 150–300°C range with temperature control for thermal shock testing |
Cross-hatch cutter | ASTM D3359 compliant multi-blade cutter for thin coatings |
Magnifier or microscope | 10–40× for inspection of the test area |
Universal test machine | Only if your customer requires quantitative bond strength data |
When to test
- After pre-treatment chemistry changes
- After a new substrate supplier or alloy batch
- After rectifier or current-density changes
- At the start of each production shift (quick bend or file test on a sample)
- When a customer returns a part with a coating failure
Key takeaways
- Adhesion failure traces to a specific process stage — the test method tells you which one.
- Base-metal interface failure = pre-treatment problem. Layer-to-layer failure = transfer problem.
- Thermal shock blistering = hydrogen or gas entrapment, not a surface preparation issue.
- In-house bend, file and thermal shock testing covers most production needs.
- Quantitative testing (push-out) is only needed when the customer specification demands it.
Your next five steps
- Identify the test methods your customer specification requires.
- Purchase the minimum test equipment set: mandrel, file, magnifier.
- Add thermal shock testing if your route includes nickel on steel or copper on steel.
- Build a documented test routine into the production process.
- Use failed tests to trace back to the specific line stage and fix it.
FAQ
What is the simplest adhesion test for production?
The bend test: bend a sacrificial part over a mandrel and inspect the bend under magnification. It takes seconds and catches severe failures.
Why does adhesion fail between nickel layers but not at the base?
The transfer time between nickel baths allowed the first layer to form a passive film. Reduce transfer time or add an acid activation dip between baths.
Can hydrogen embrittlement cause adhesion failure?
It causes blistering rather than classical adhesion failure. High-strength steels plated with cathodic processes absorb hydrogen; a relief bake at 190–220°C for 4–24 hours is the standard remedy.
Image note: AI-generated editorial photography illustrates equipment or workpiece contexts; it is not an ES-PRO installation, customer reference or evidence of coating performance.